October 2, 2022
Here are the most popular types of ceramic tile installation
Your tiles…one size, many possibilities! When installing your tiles, there are several options for the installation pattern. Some more classic and others more daring! It’s up to you to choose between a conservative look and a more trendy look! Here are a few tile installation patterns to guide you.
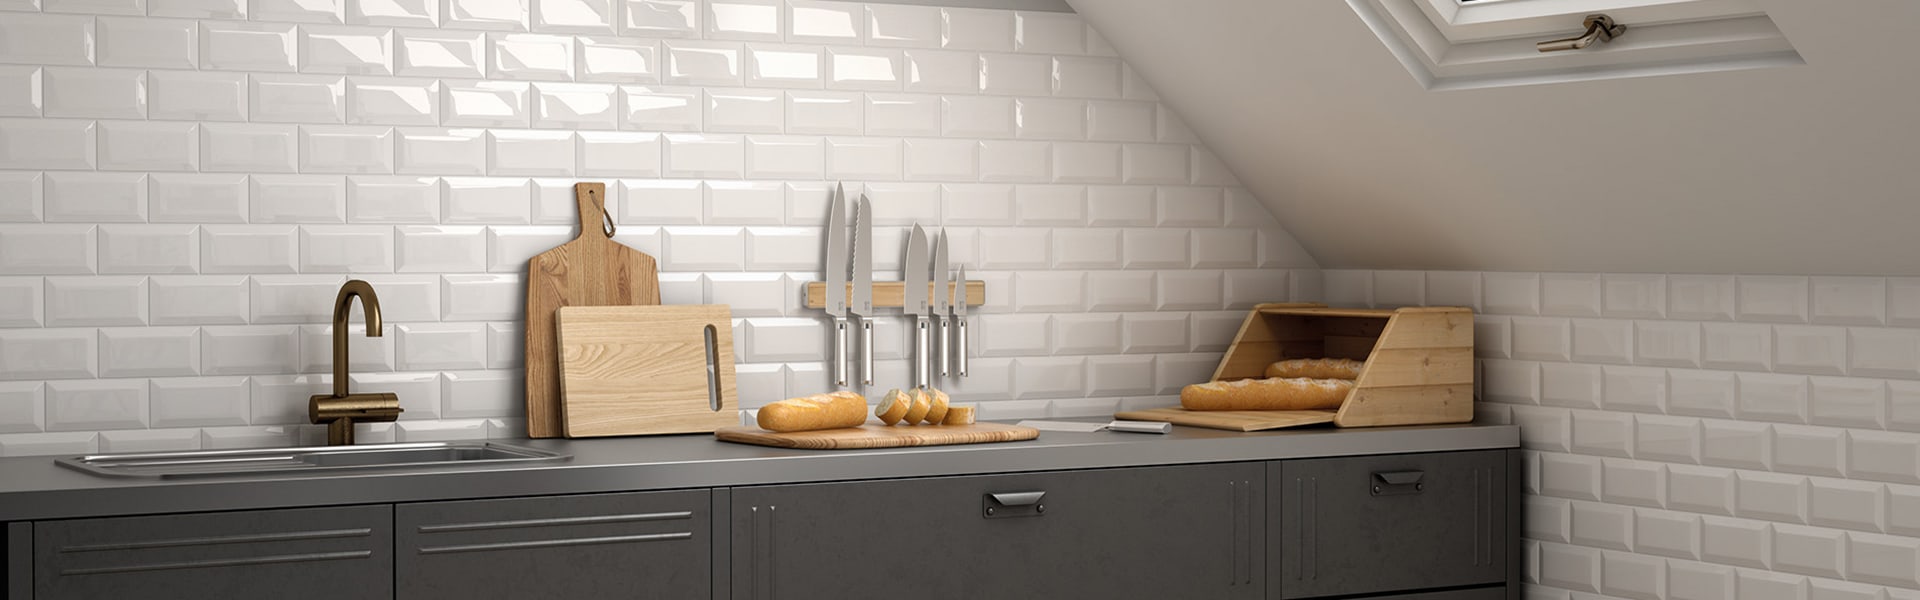
Straight pattern
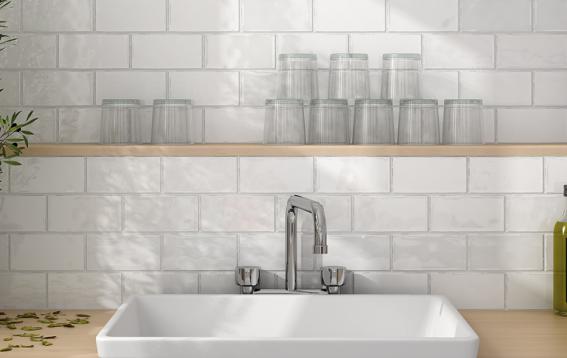
The straight pattern is certainly one of the most popular. It is relatively simple to achieve and, its result gives a linear and neutral effect. This type of installation offers two options: on the wall, a tile can be installed horizontally or vertically. Horizontal layering is more often seen, but vertical installation can be really surprising. It can give the impression of lengthening your wall. This remains a good option for shower walls in a bathroom with low ceilings. In order to do it properly, make sure that all the tiles are properly aligned. If there are slightly offset tiles, the look will be disappointing!
There is also the straight vertical offset pattern. The concept is simple: the first row of tiles is laid vertically. The second row is also vertical but it is offset by half a tile. Very trendy in Europe, this type of installation gives a lot of cachet to the tiles.
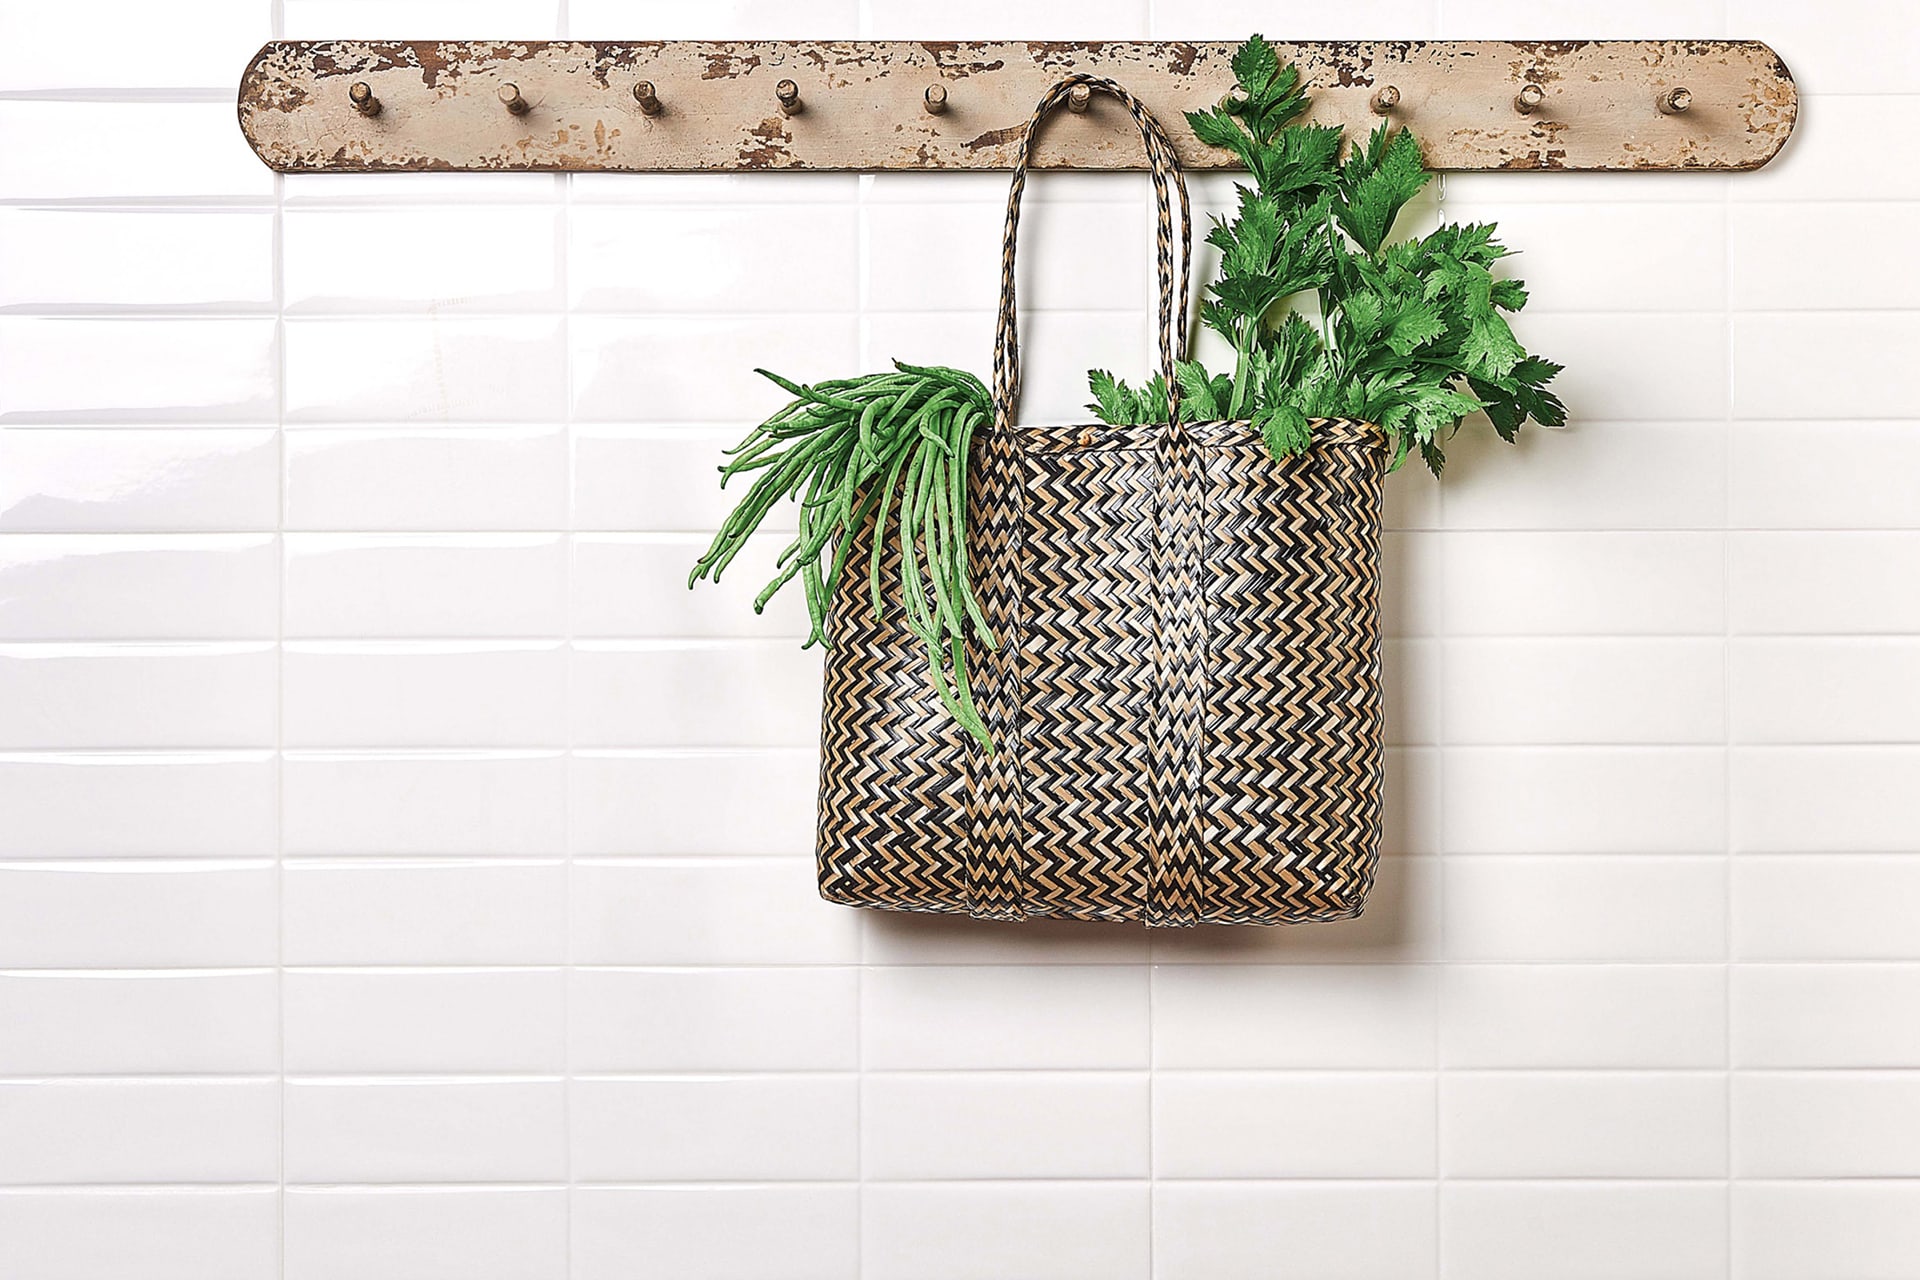
Straight horizontal pattern
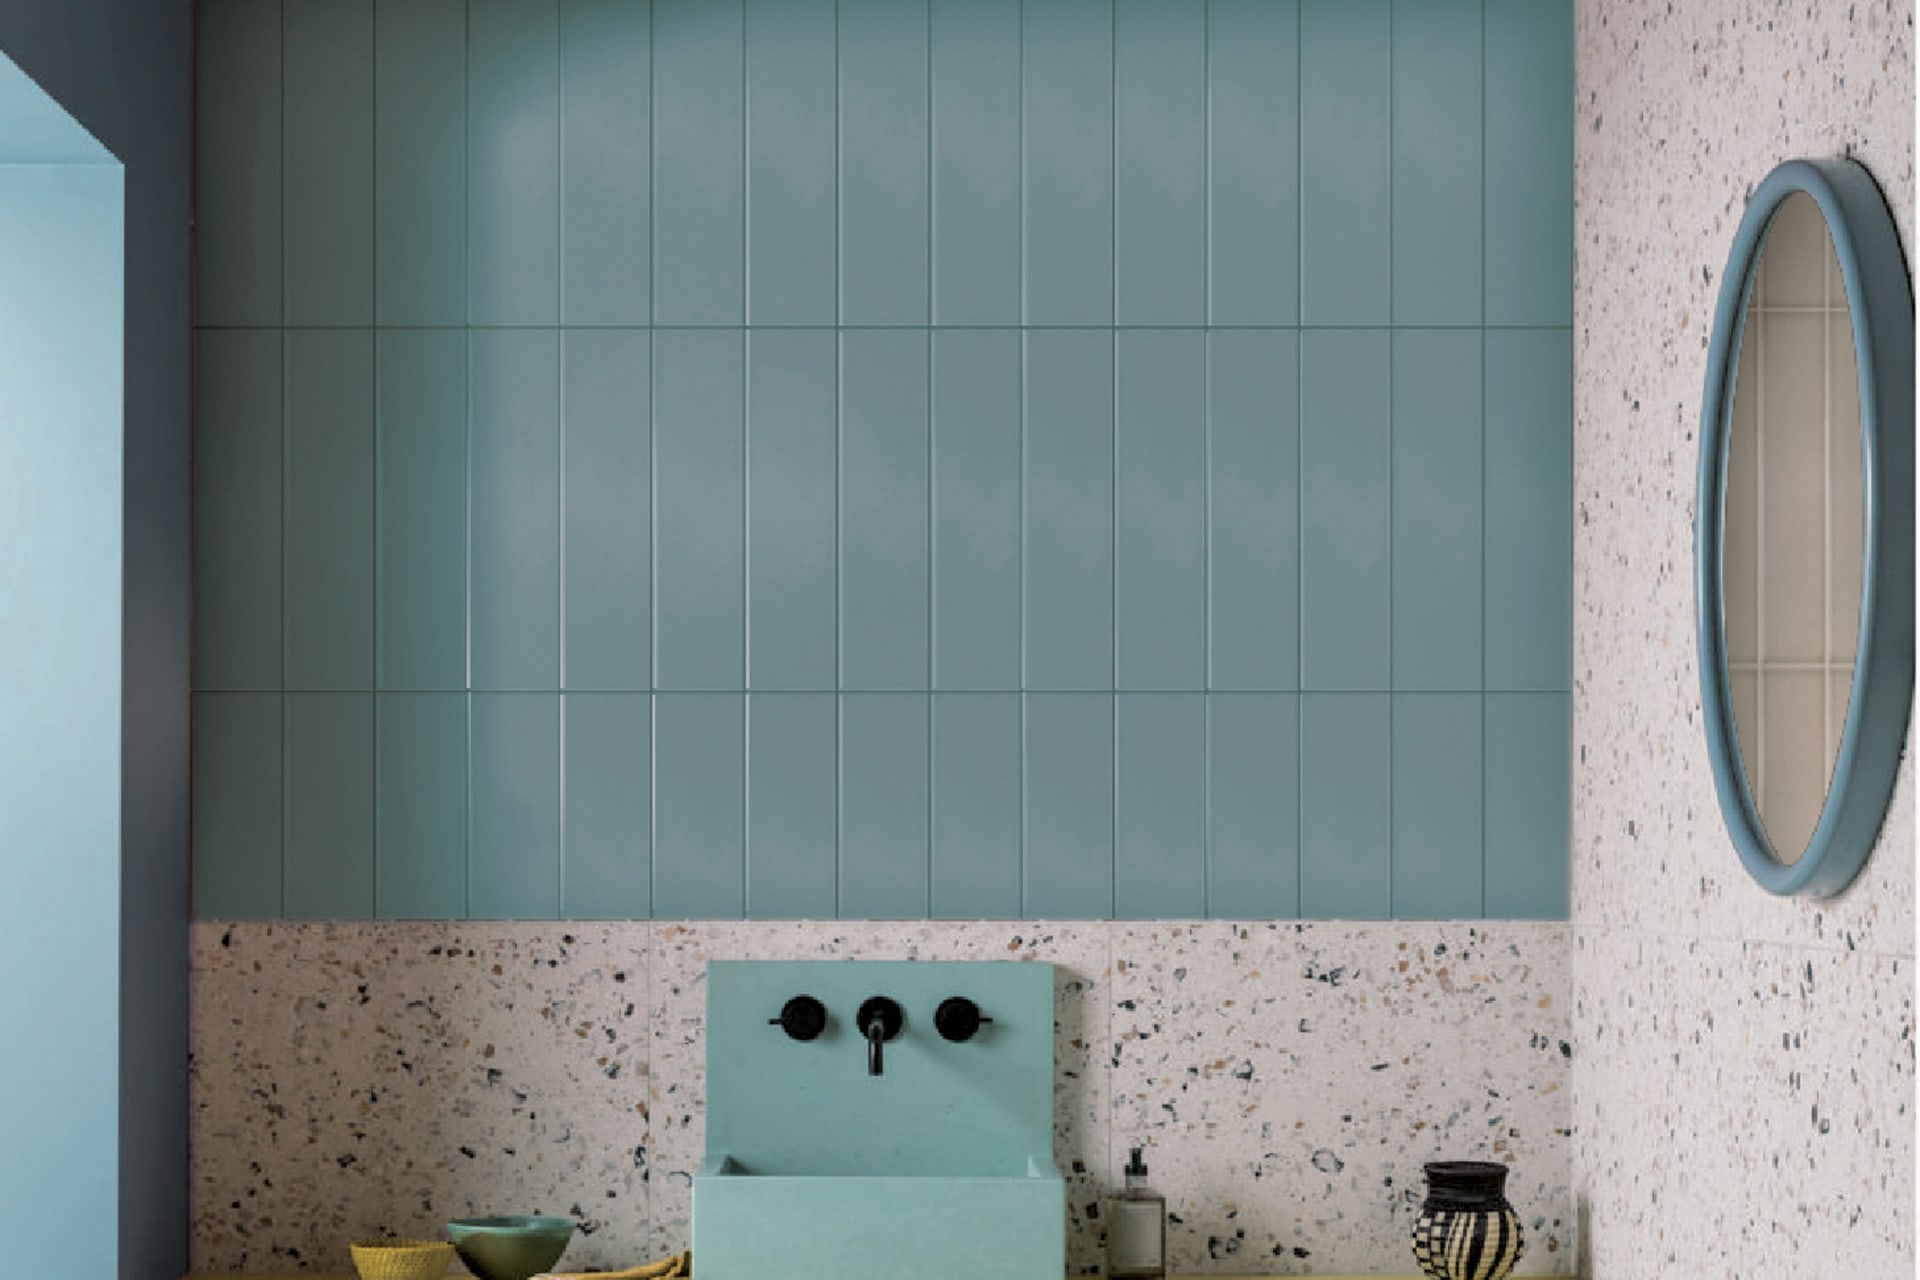
Straight vertical pattern
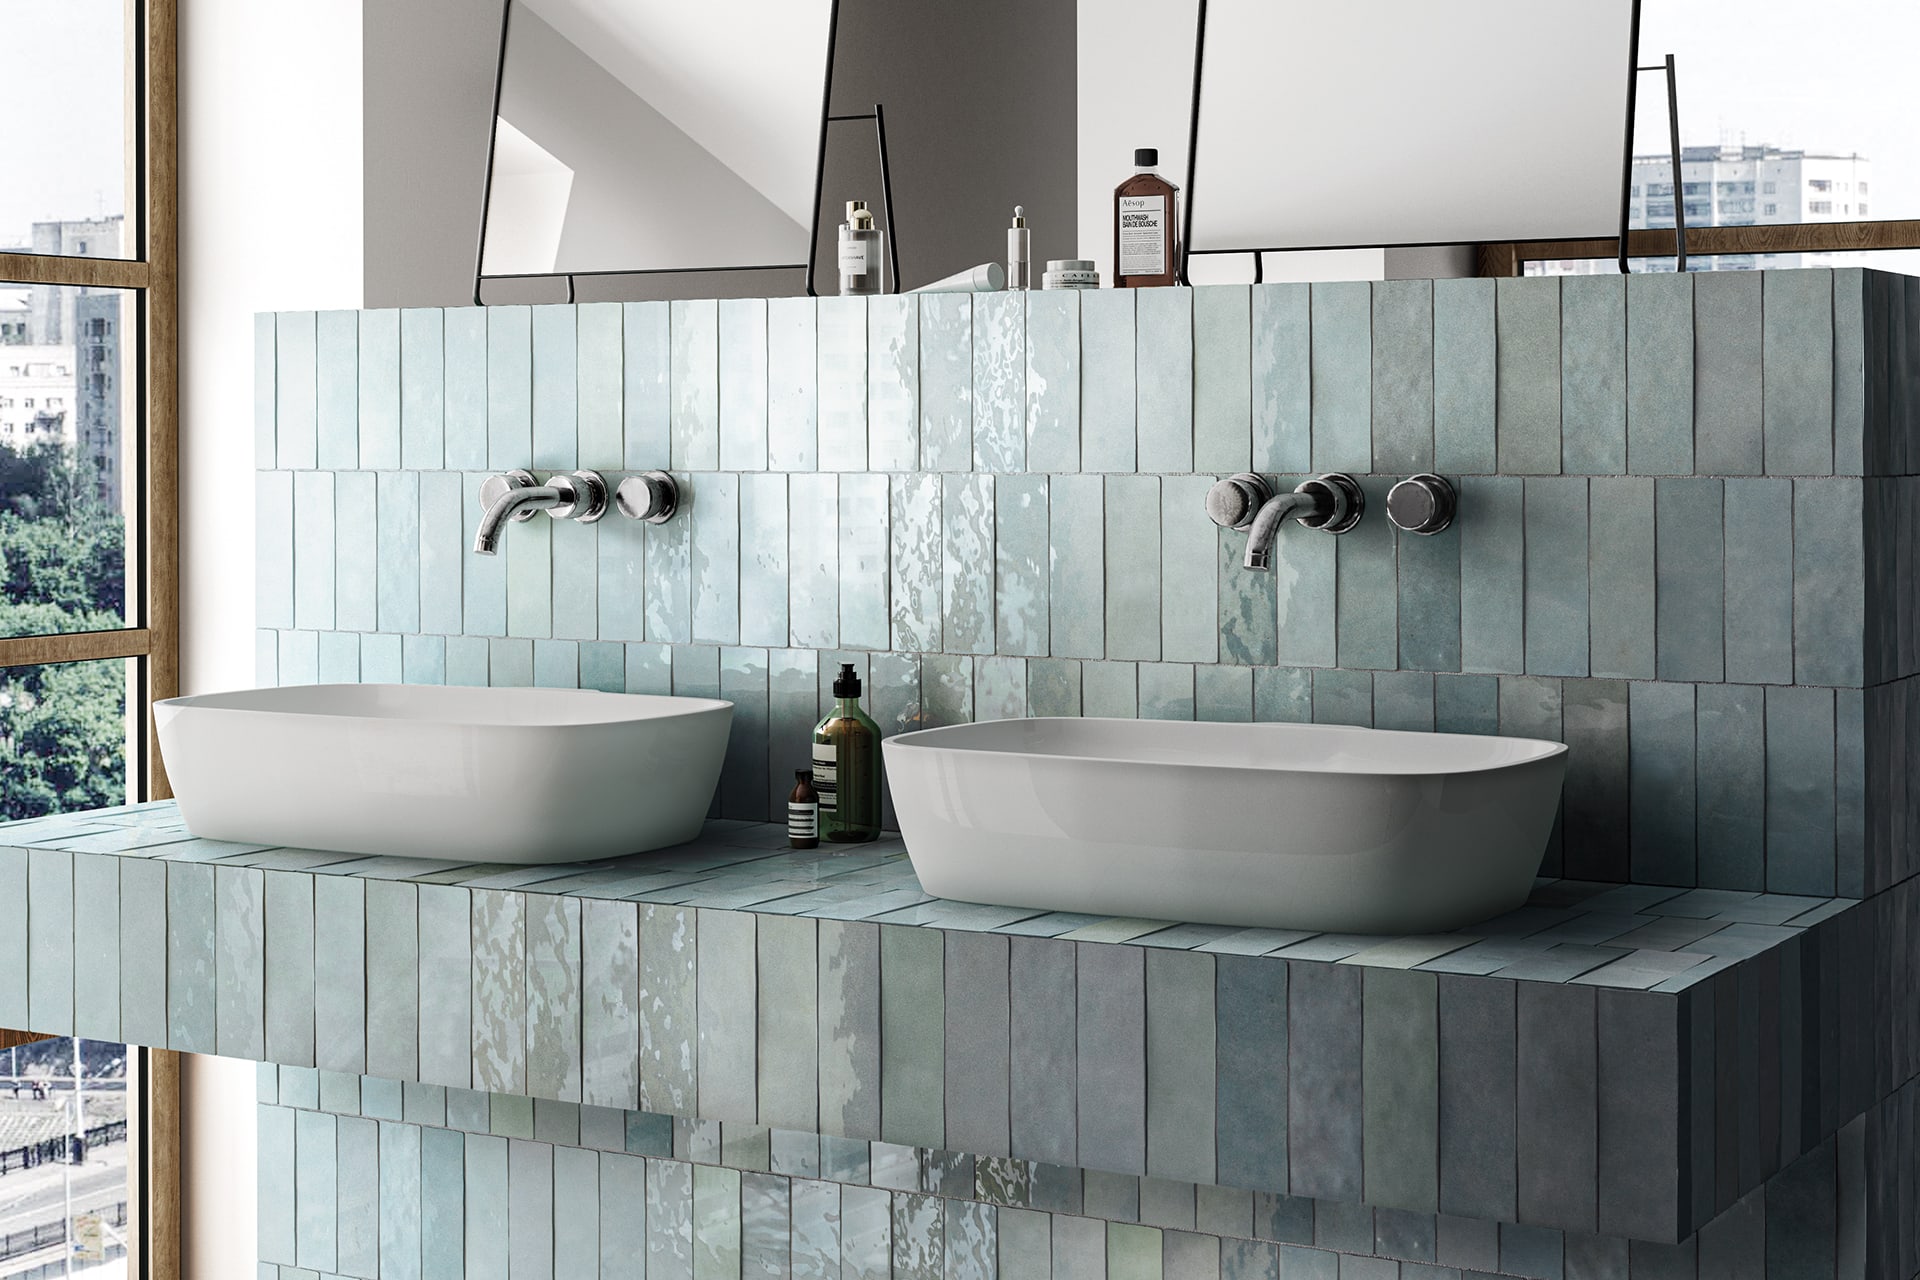
Straight vertical offset pattern
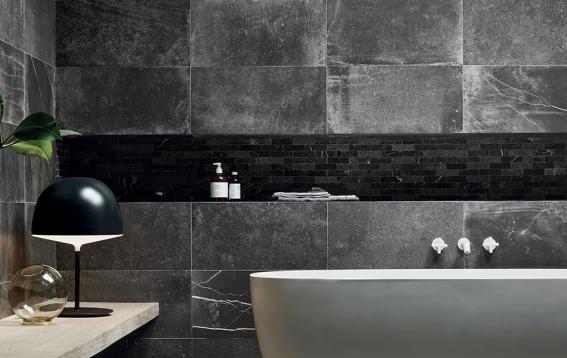
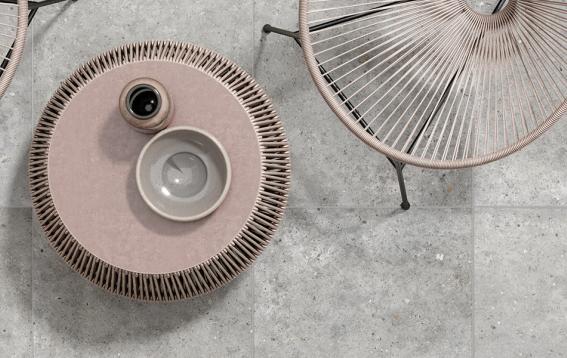
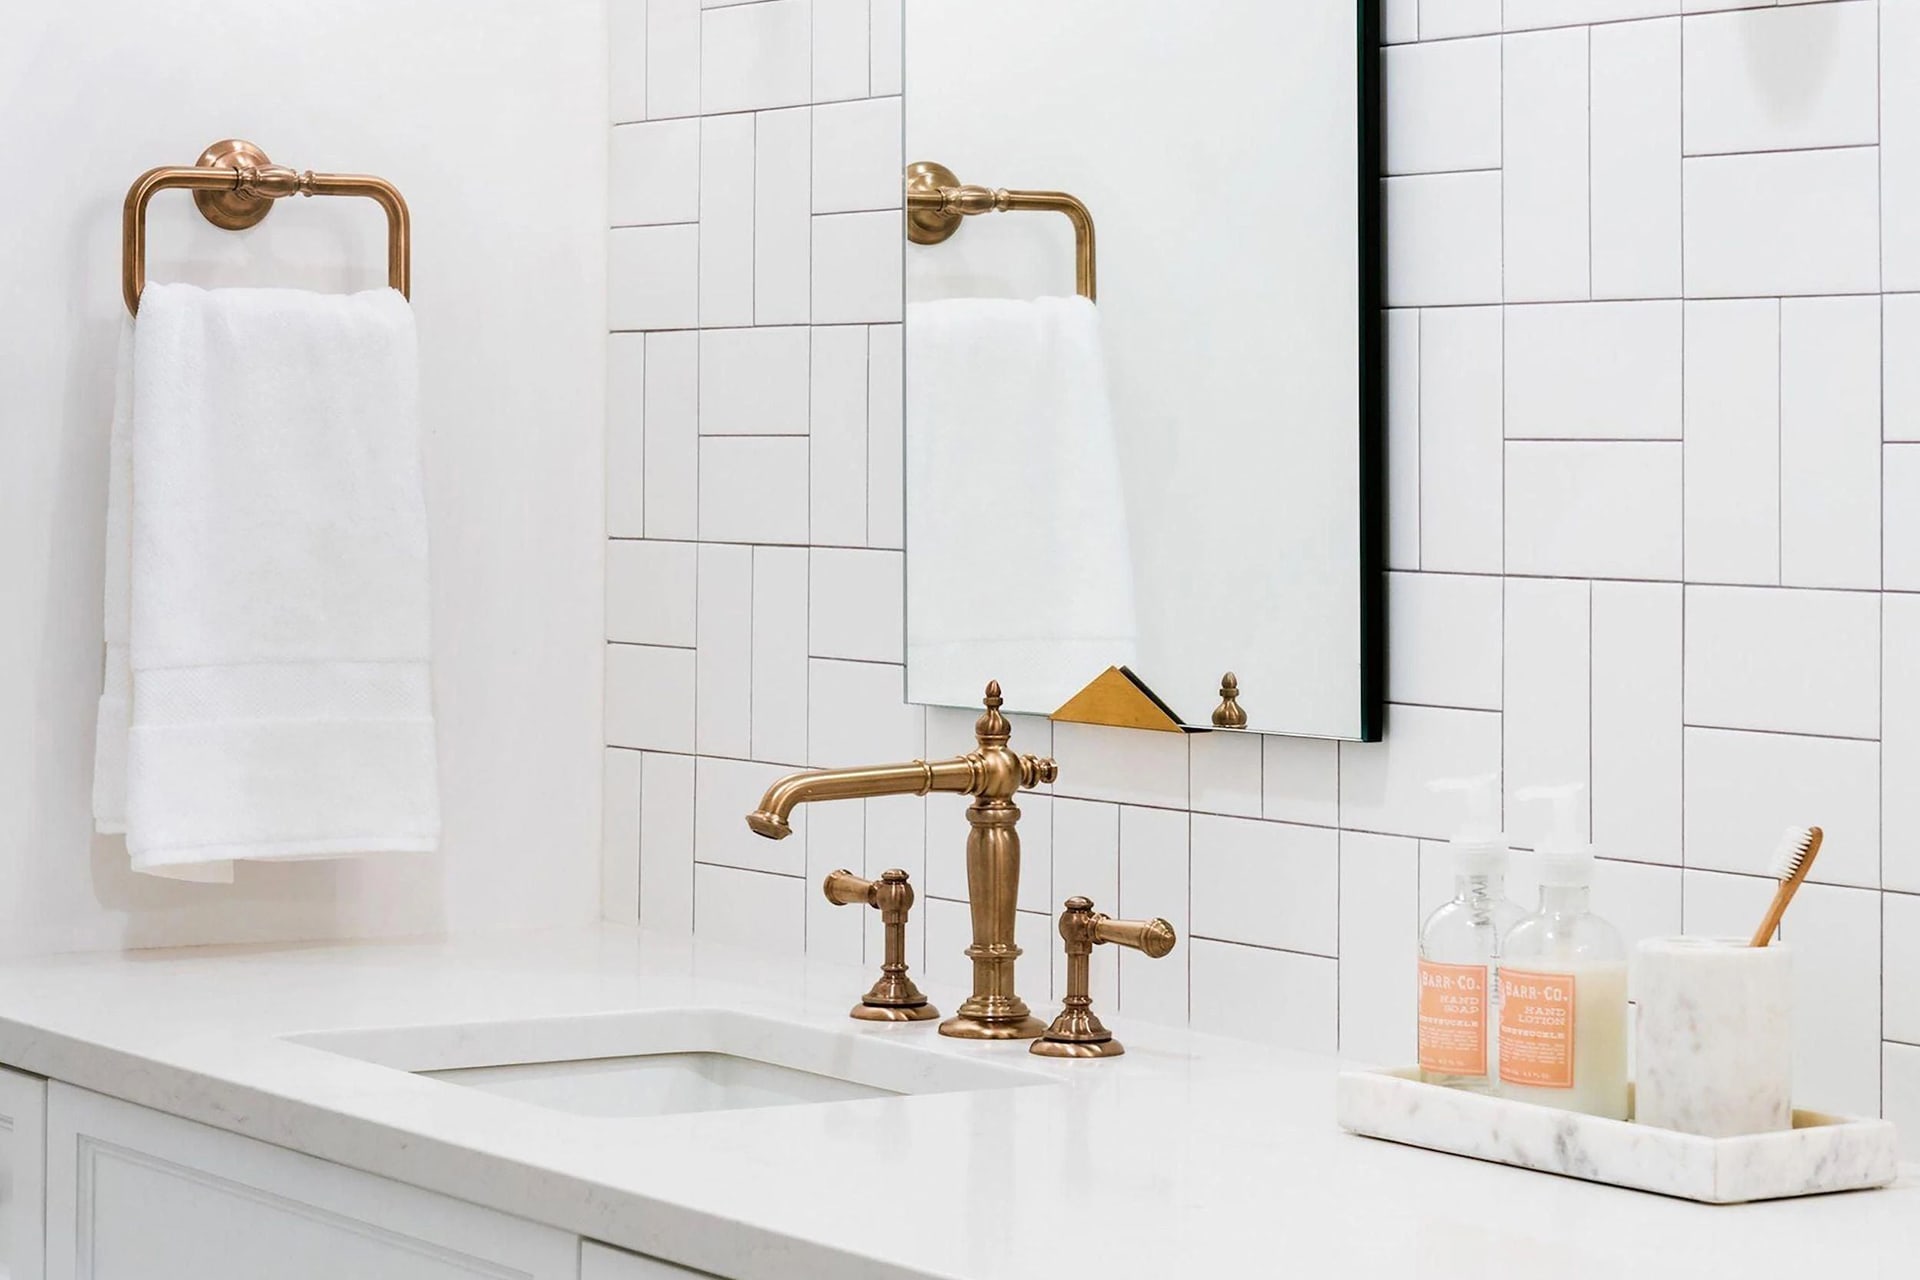
Basket pattern
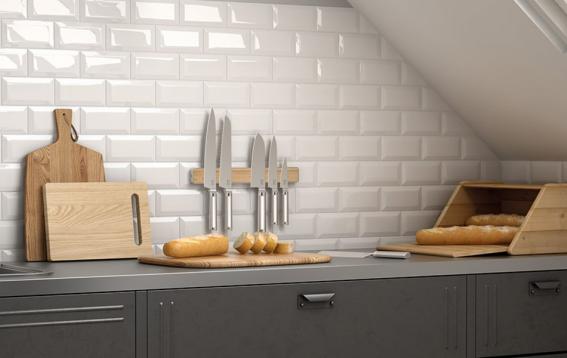
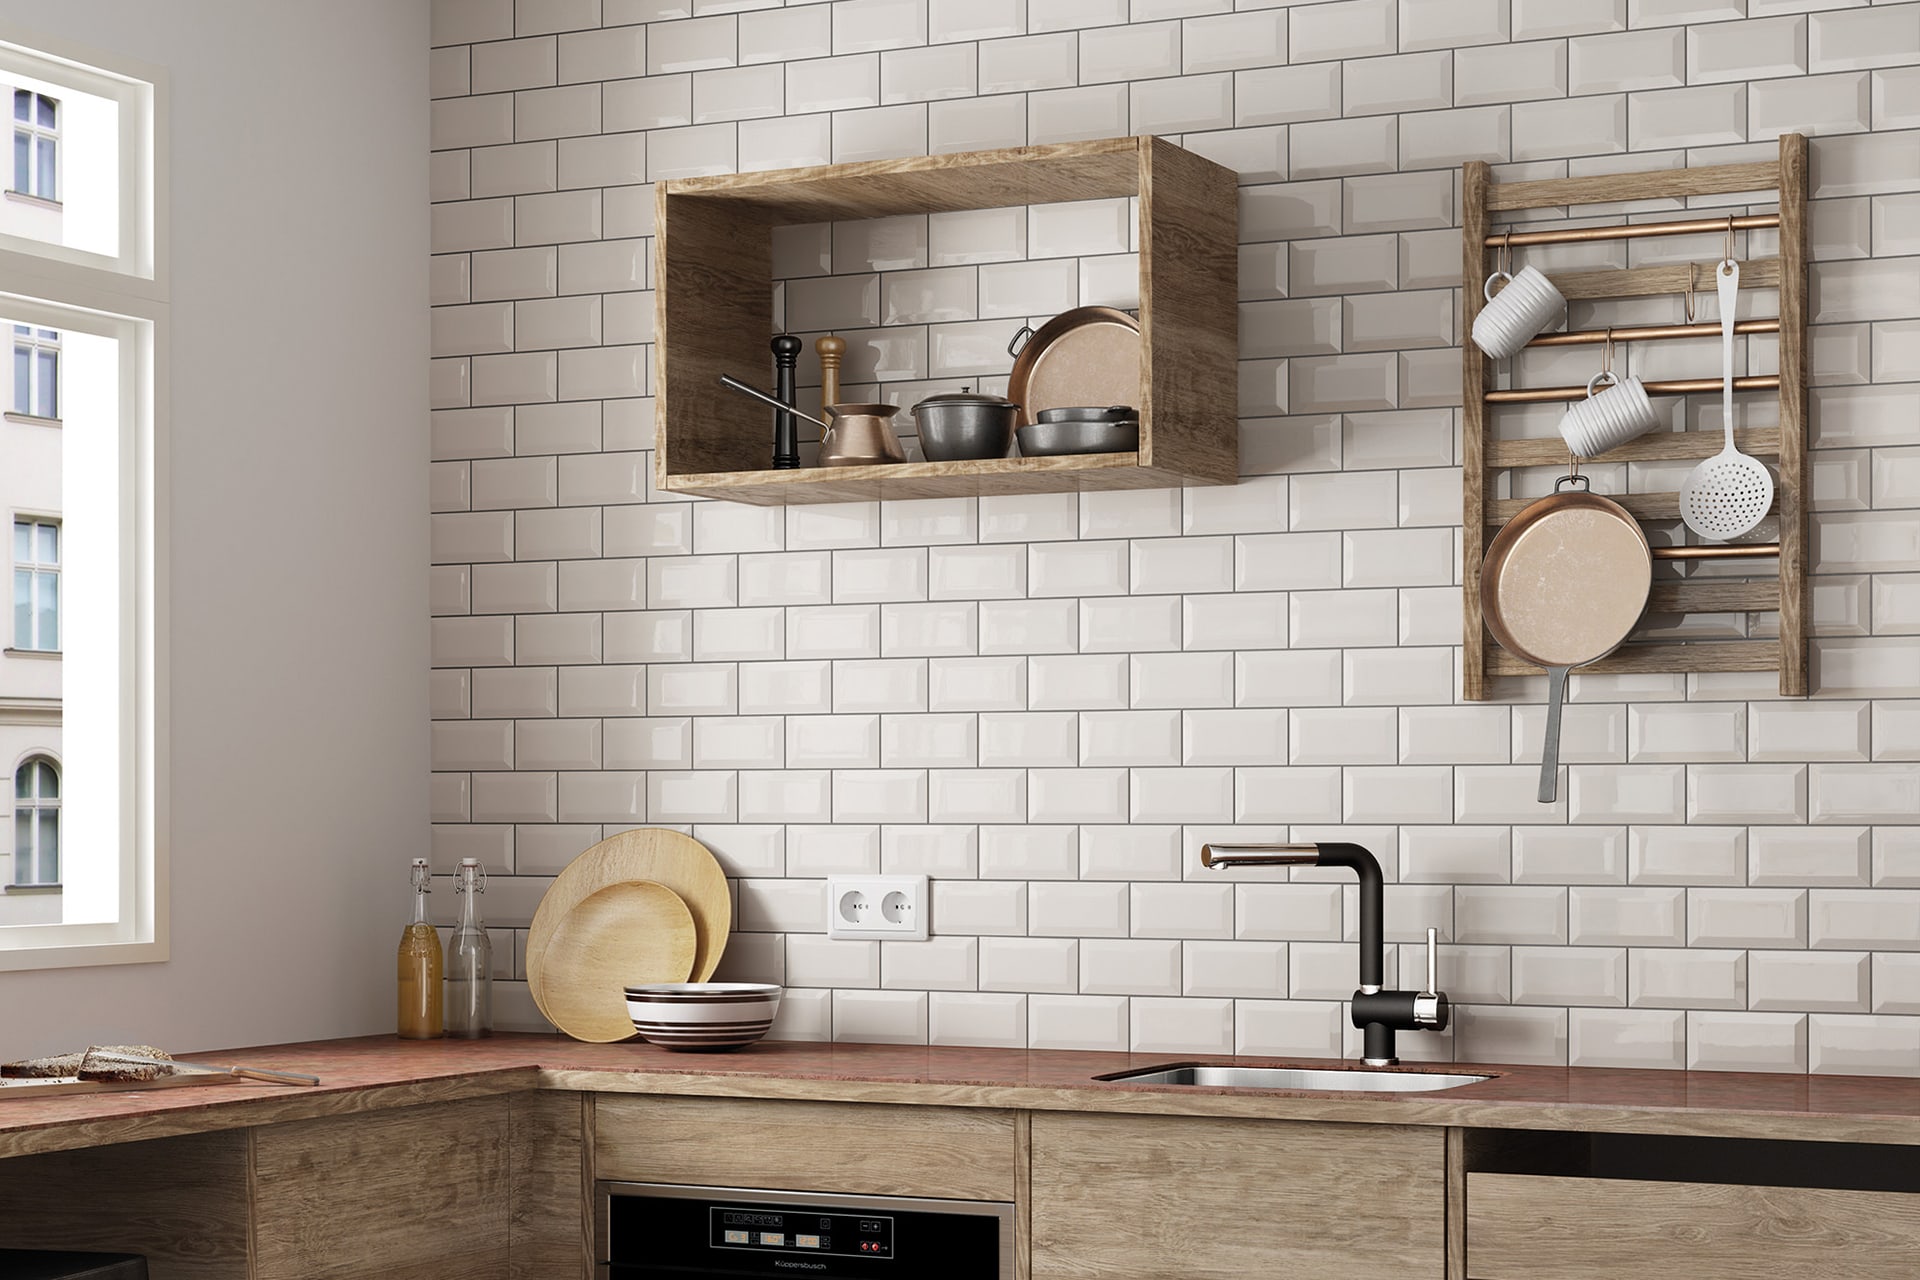
This installation remains as easy as the straight pattern, but the result is quite different! Often used to create a rhythm in a room, the basket pattern remains timeless and neutral. On the floor, it can be very interesting for a hallway, unlike straight or staggered installation because it reduces the length effect. On the wall, by its interesting rhythm, it can give a simple tile like the classic 3” x 6” metro a whole new look.
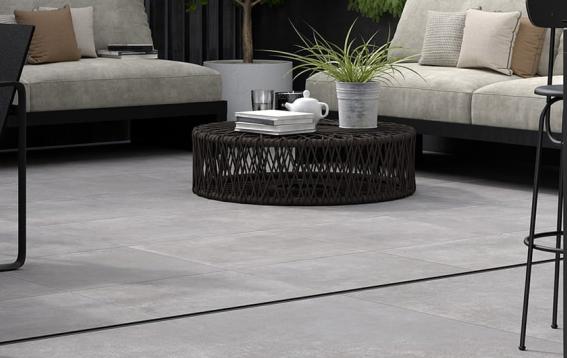
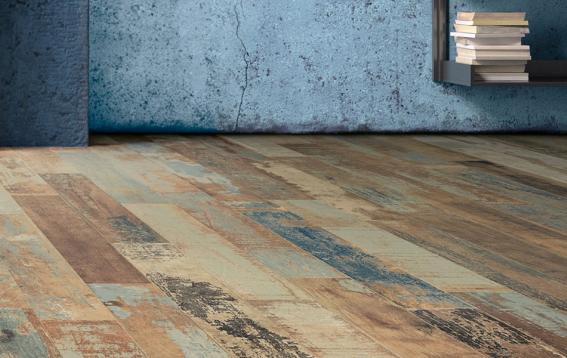
Staggered pattern
For a slightly less linear effect, a staggered installation in a 1/3 - 2/3 or 1/2 ratio may be the solution. This option is suitable for all types of decors including kitchen backsplashes. And, this way of installing ceramic tiles does not generate much material loss and is still quite simple. On the other hand, you must always respect the same distance between tiles.
Ratio 1/3 -2/3: start the installation of the second row of tiles 1/3 of the way from the beginning of the top row.
Ratio 1/2: start installing the second row of tile 1/2 from the beginning of the top row, recommended only for the 3” x 6” size.
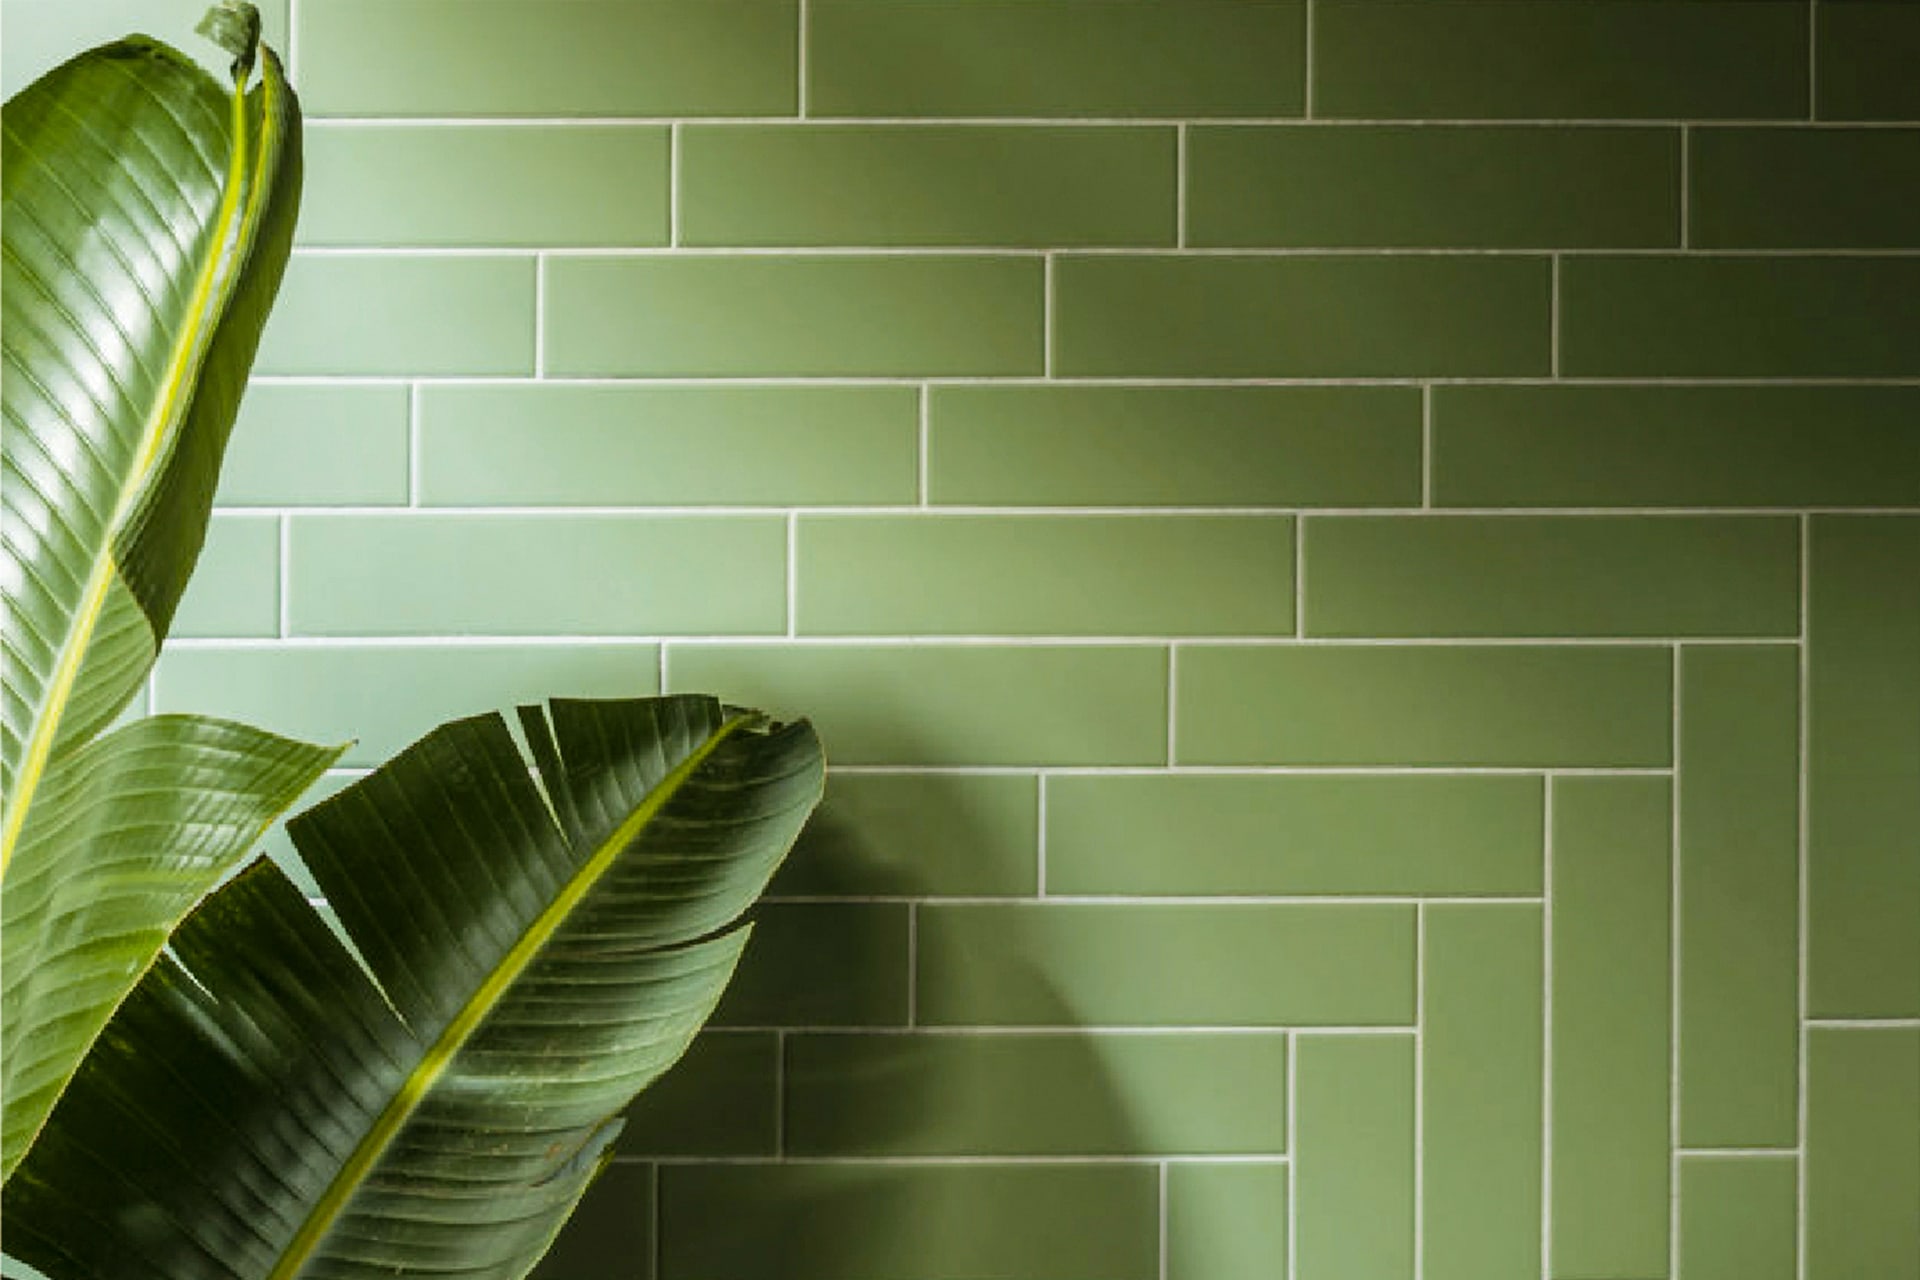
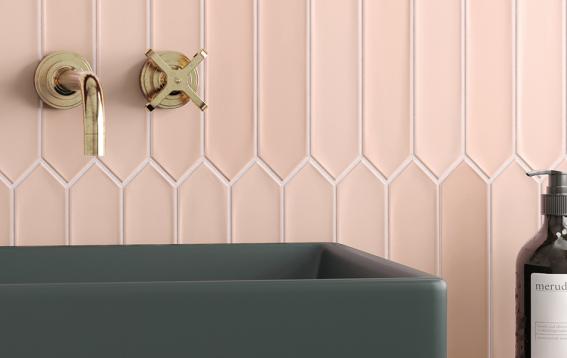
Herringbone vs. chevron pattern
Herringbone installation is more common for wood floors, but it remains an excellent option to give dynamism to your tiles. It consists of installing the tiles in an “L” shape. Despite its trendy look, it is a type of installation that has been around for a very long time. Although this type of installation is more expensive and demanding, because there are a lot of waste and cuts, the result is impressive! This type of installation is only possible with rectangular tiles.
Wrongly, this installation is often confused with the chevron pattern. However, the chevron installation requires a tile with angles while the herringbone pattern is done with rectangular tiles.